
[ad_1]
This is one of those fundamental skills in Photoshop. I’m making this tutorial because some things have changed in photoshop and I want to show the newest and best way to achieve the blending or fading effect. I’m also offering a way to have more flexibility and some different options to blend all the edges, not just one edge.
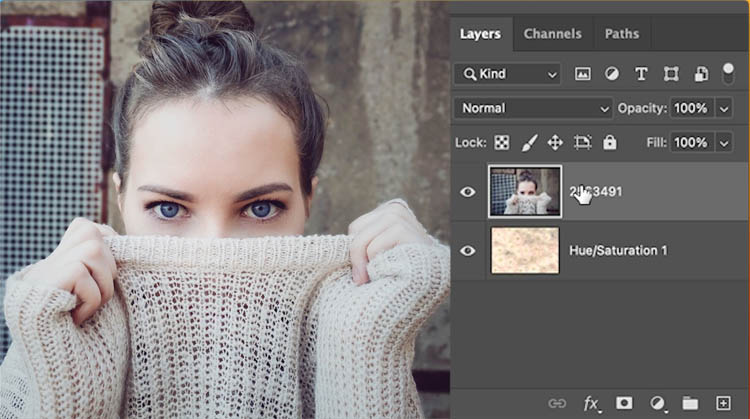
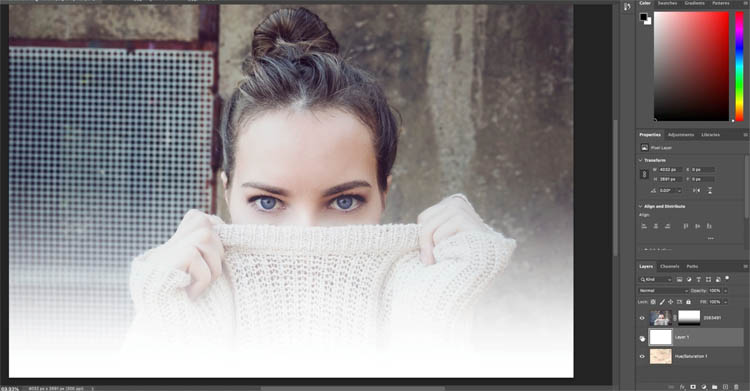
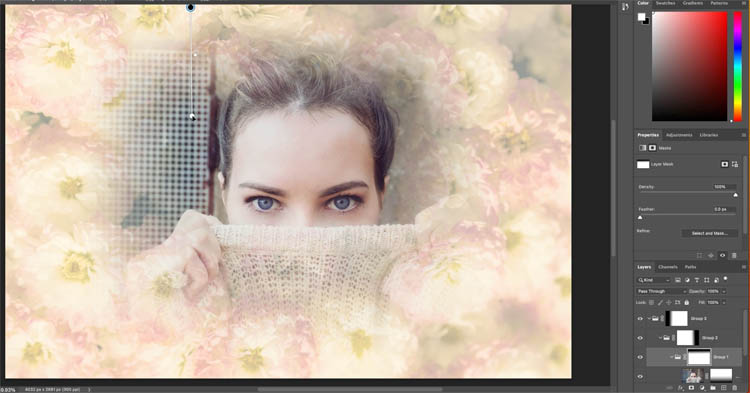
Here I our Photo on a layer, with a pattern in the background that we will fade into. (How to combine images here If you don’t know how to get to this point.)
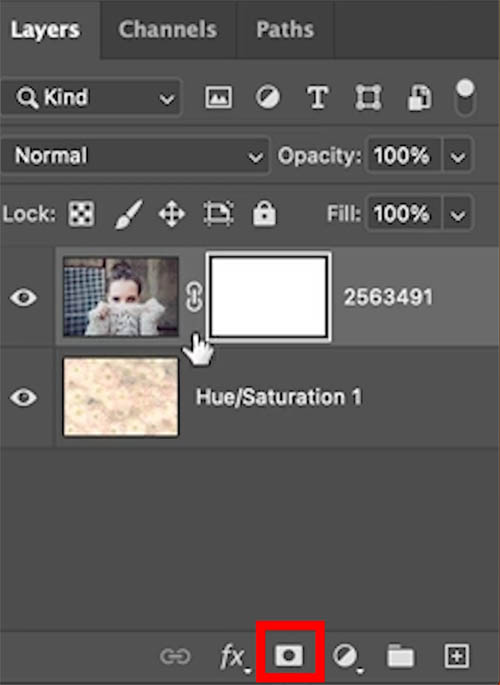
Add a layer mask on the top layer
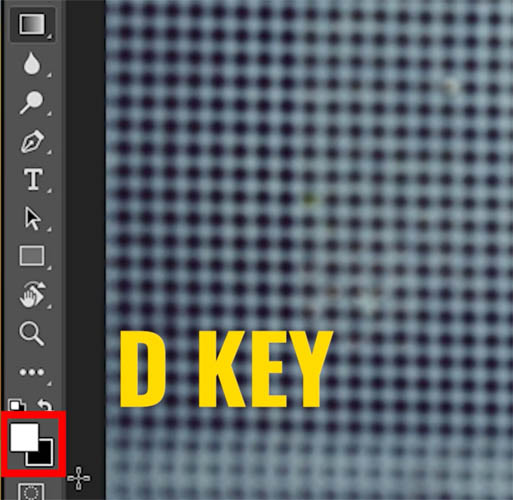
Press the D key to reset colors
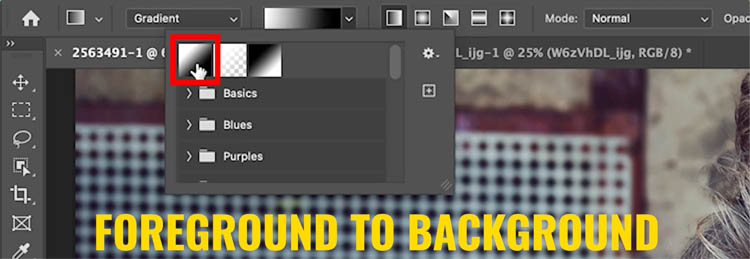
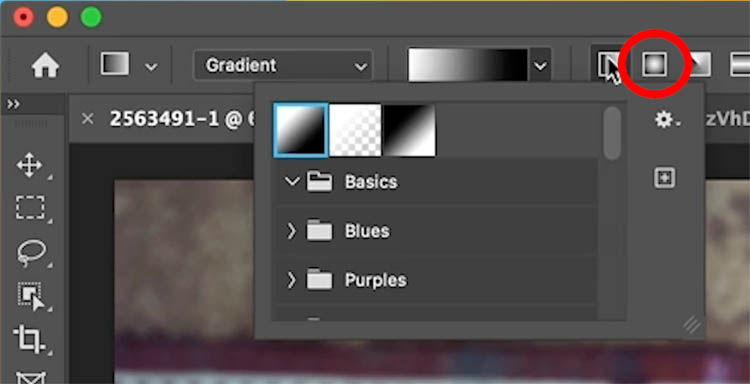
Choose the Gradient tool or hit the G key
Choose foreground to background and linear for the options as shown. Mode normal, opacity 100%
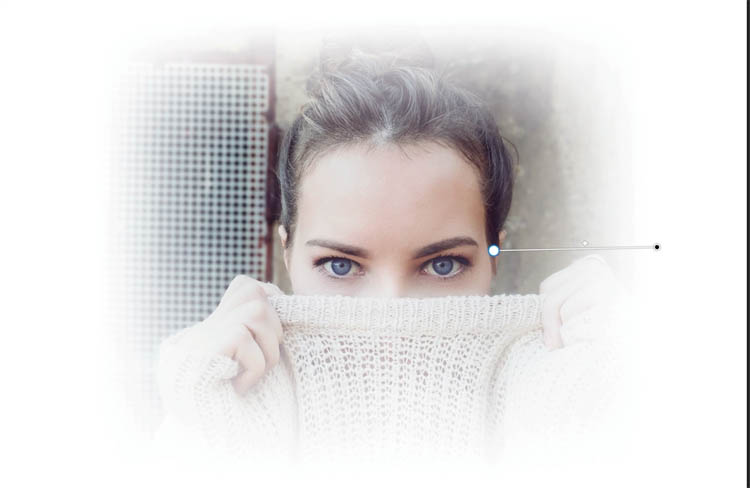
Drag on the image to apply the gradient.
Black hides the layer and white shows. Because it’s a gradient, you get a smooth blend.
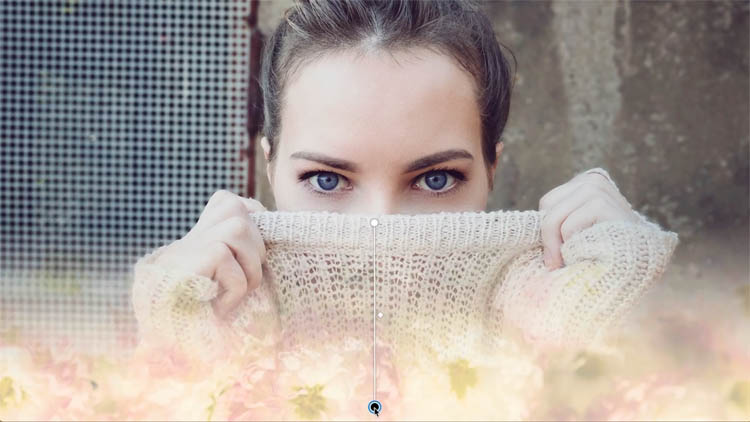
The new gradients allow you to drag the points to change them.

On white so you can see better. (I created a white layer)
What if you want to fade the top too?
In the past, I would have said grab a black to transparent gradient. This still works, but the following gives more options for you
With your Layer selected, Press Ctrl/Cmd+G
This puts your layer in a group
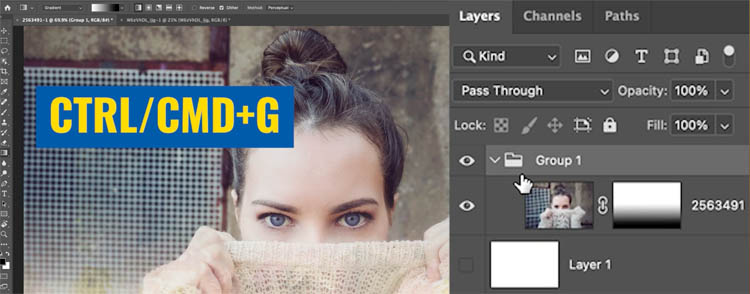
You can add Masks to groups
Add a layer mask
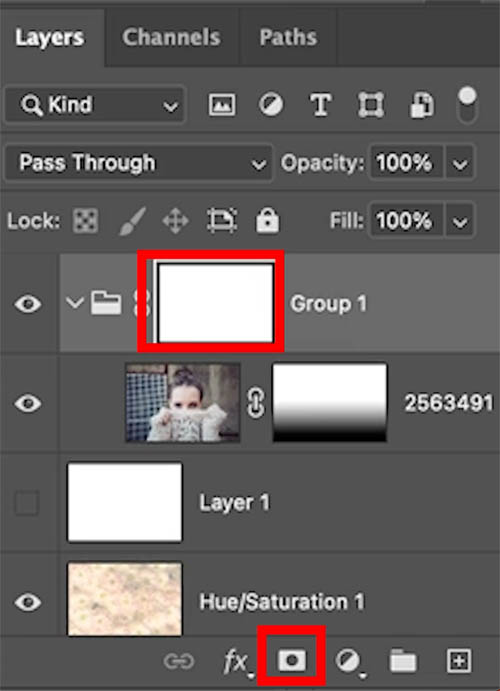
Apply the gradient at the top.
Notice it doesn’t affect the gradient at the bottom

If you want more, select the top group (Its already selected unless you clicked somewhere else)
Press Ctrl/Cmd+G to put the group inside another group.
Add a mask, apply a gradient on the left.
Repeat for the right side. As you can see, you can keep nesting Layer groups and adding masks to each one. This is handy to know.
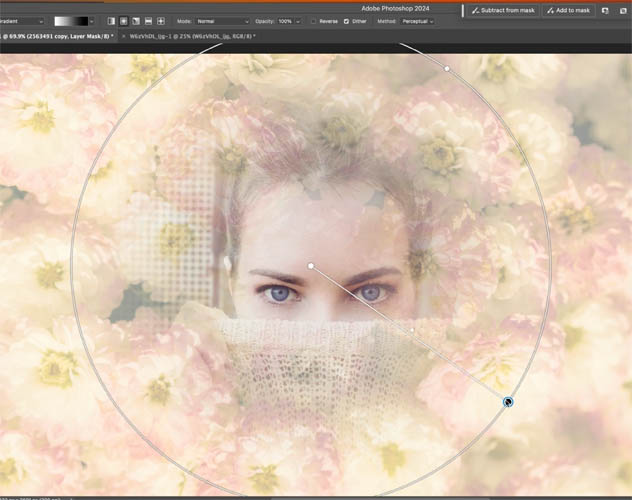
Another option is to choose. a radial Gradient instead.
Now you can do everything in one gradient. Here is a tutorial on using the radial gradient for blending layers, it shows the basics and goes into more depth
I hope you found this tutorial useful!
Thanks
Colin
[ad_2]
Source link